SMELL THE ROSES TOP DIY
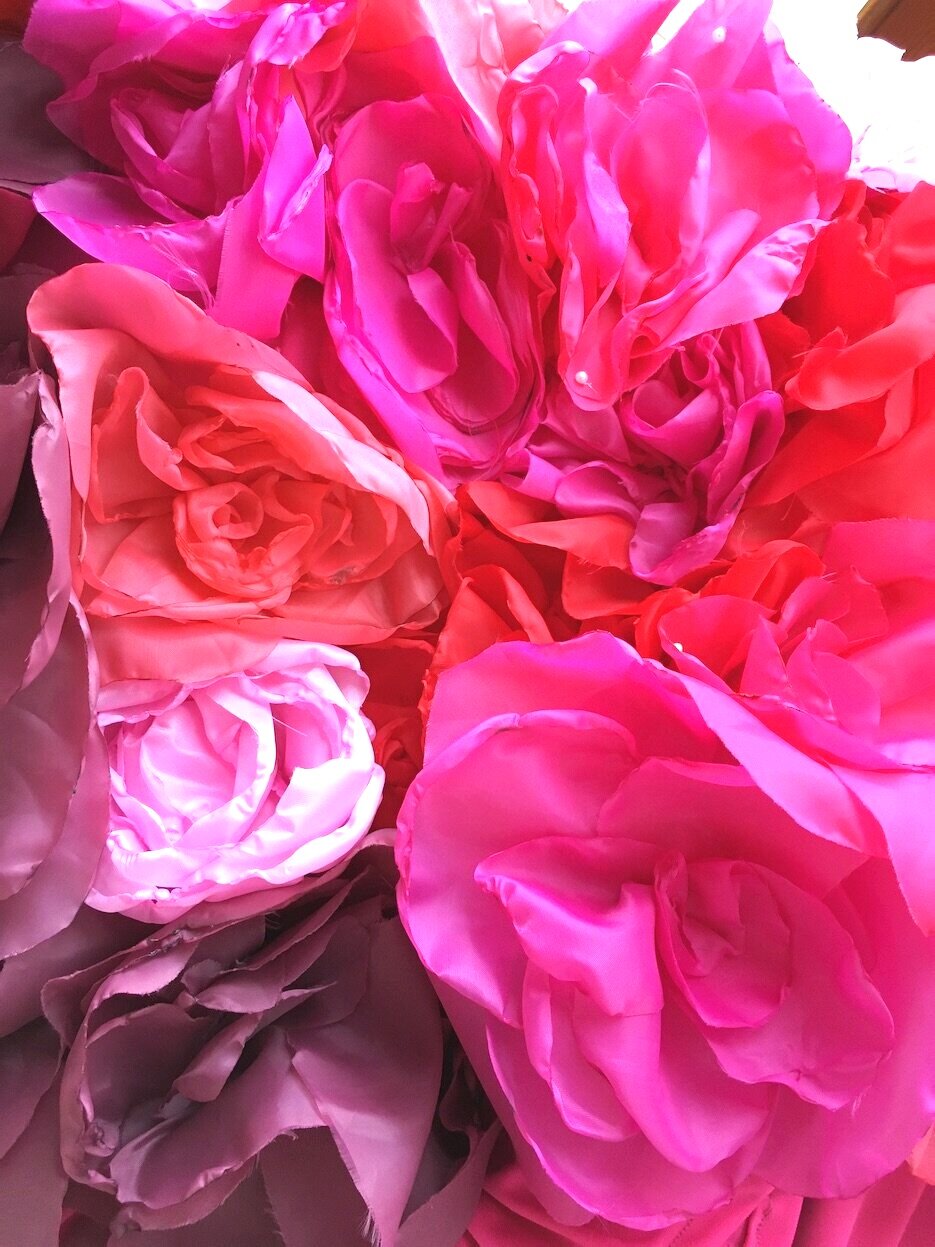
Have you put on your pink coloured glasses, my Darling? Roses in fashion is really the the symbol of love & joie de vivre. Light up the street with a fabulous DIY Rose top and dream a world of optimism, energy, boosting vitality and celebrate feminine spontaneous vibe.
These vivid colours pops out your eye colour and brings each and every neurons and cells in your body alive! Like colourful, bouncing confetti champagne bubbles!
I always admired those creative fashion pieces when the design speaks of its own, and at the same time can be built in to our wardrobe as a weekday piece. Many beautifully made art wears on runways tells us more about its creator, designers like artists envision a fantasy, a feeling and make an attempt to induce emotions rather than selling the garment. Even, if you are a full time minimalist in the other sense of life and adore clean Scandinavian styled interiors and into Japandi’s calming nudes and whites, big airy spaces, you can not deny the fact when it is about spicing up THAT day, or when grey clouds hovering over the blue sky like aliens settling over NY in the movie Independence Day, well, surely that’s always a safe bet to count on colours, ideas from nature and the combinations of many, for instance taking inspirations from parfume bottles :) (like this and this)
The first time I was making these fabric roses was as part of one of my other project, a designer inspired Dolce & Gabbana’s 2018 dress making DIY from their 2018 runway collection so I have named my creation to Dolce Dress. Sleeves are embellished with large faux silk burgundy, pink, red and leaf green roses. Enjoyed so much making them! One rose after another..and another, at the end I ended up having enough roses to fill up a whole outfit <3
Let’s reject day to day bleakness and fight against the depression of current times.
I have tried and tested the below listed fabrics to create the roses, although if you find other material that works for you, go ahead by all means. Polyester & acetate lining and faux satins are the most budget friendly ones & perfect for crafting as it curls when it is close to the candle flame. That’s exactly what we need. Depending of the size of the flower heads you wish to make, normally 3-4 roses can be made out of 1 m fabric (rose heads are between 12-18 cm big)
silk, satin - depending on your budget
faux silk, faux satin, polyester lining
organza, tulle net (combining maybe with stiffer ones, as many light fabrics can be a bit floppy, so its better to mix)
chiffon came out a bit sloppy as well, but can work with other materials too
Each and every rose petal been hand cut out based on a pattern, hand treated and shaped into a form petal one by one to create a realistic flower head. The underlay top is long sleeved styled top with round neck made from a comfy elastic material.
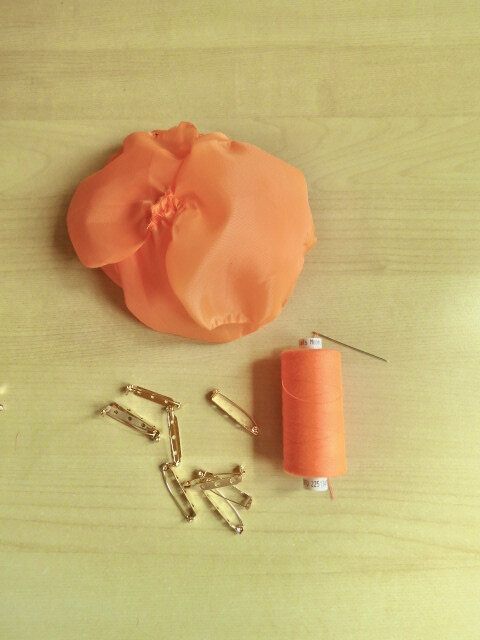
Since the flowers cover up the whole top you only need a simplistic design. Once all roses are crafted they are ready to be hand stitched onto the garment straight up, or you can apply pins so you can pick and choose what clothing of yours need a little splash of vibrance and get some 3D romantic rose goddess world going.
Want to take to a next level?
Somebana, the Japanese silk fabric flower making & painting. Breathtaking, beautiful centuries old technique which nurtured and thought over and over in Japan and in many countries all around the world. A true art, material painting and sculpting combined!
But it’s not a hobby you can just pick up now and be good at it today.
Creating realistic looking painted silk flowers like craftsmen and craftswomen requires skills, patience, expertise and many tools. But I still think it is worth the try if you are very adamant to create silk flowers so you can become a master in this and make your own dress, coats, jackets even handbags out of hand painted silk flowers.
WHAT YOU WILL NEED TO MAKE YOUR OWN SMELL THE ROSES TOP
a top in a similar colour to the roses
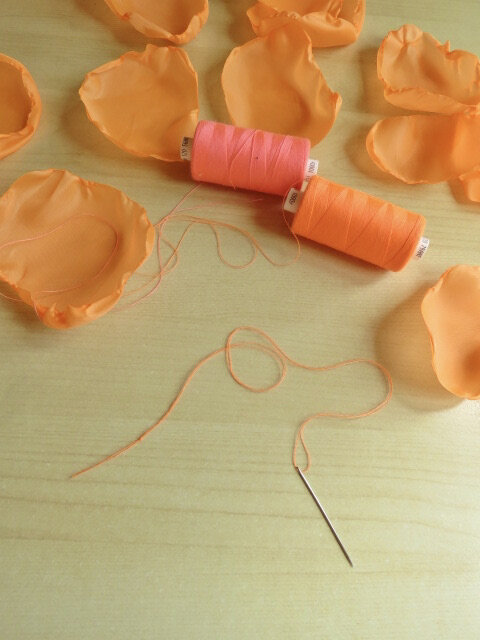
meters of fabric or scrap pieces of polyester fabric, acetate lining
a needle and thread
a candle
this pattern for the petals
INSTRUCTIONS
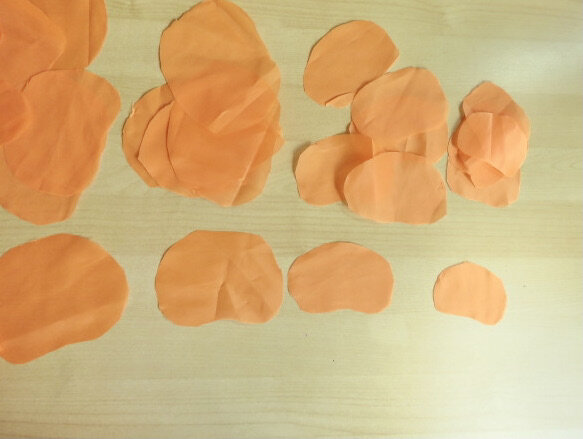
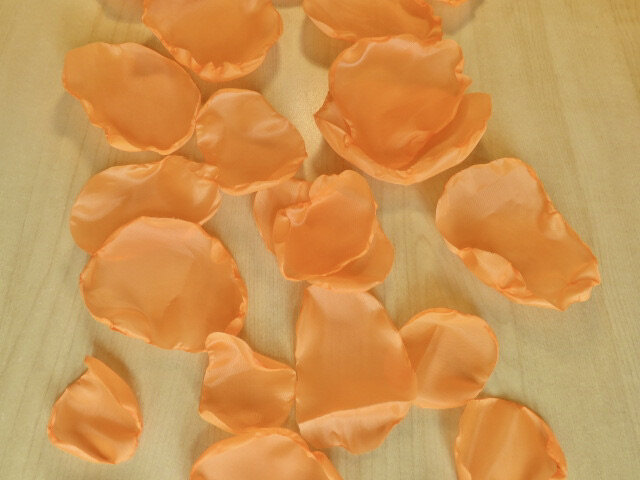
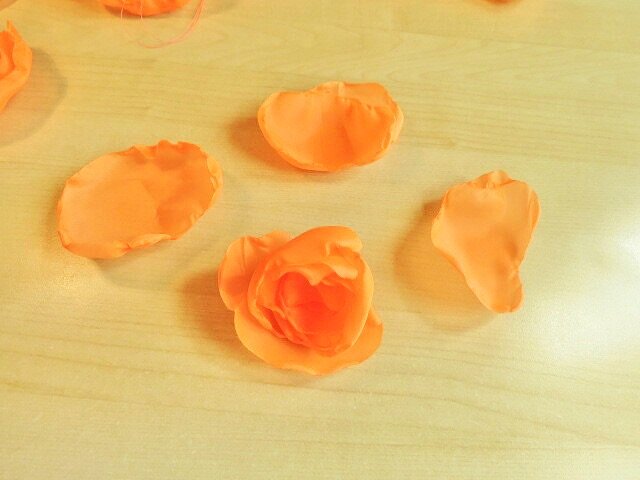
Cut 4-6 petals of each of the four different sizes of rose petals using the pattern. We found that using two different types of fabrics produced the most interesting-looking flowers, and mixing an opaque with a sheer fabric was a pretty effect.
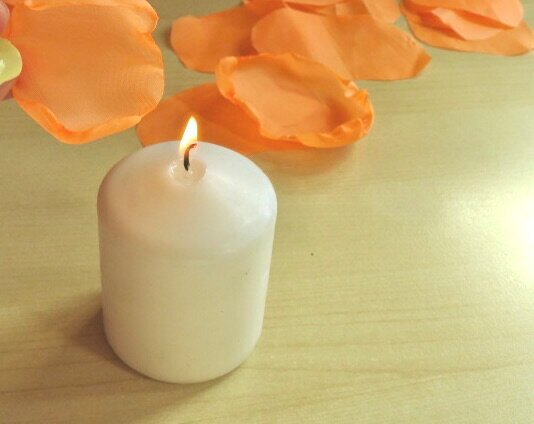
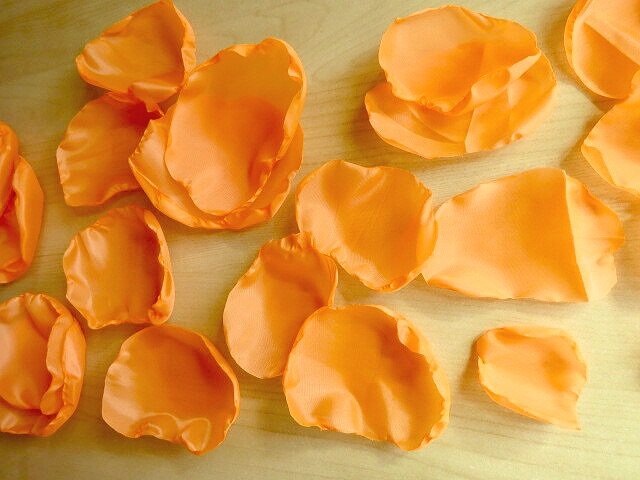
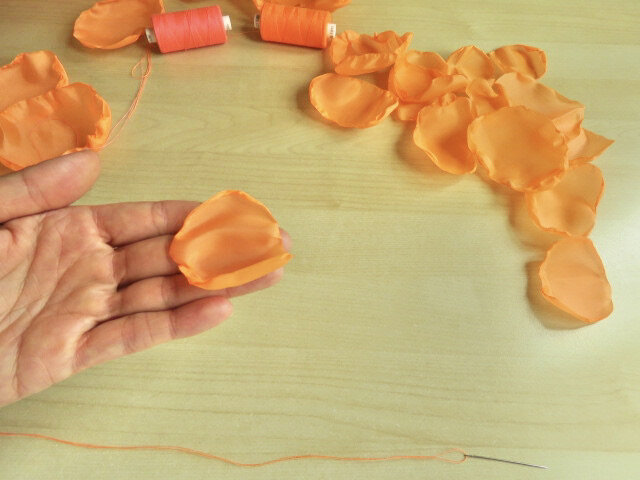
Now the longest part :) Carefully curl the edges of each petal by holding them over a lit candle and rotating them one at a time. Don't hold the petals too close at first. You need to try and test each fabric and how it reacts to the heat of the flame. Move slowly and find the right closeness to the heat of the candle fabric per fabric.
As it’s going to take some time, don’t do it all at once. It’s great time for meditation and to be in the state of Flow and think of the Flow-ers.
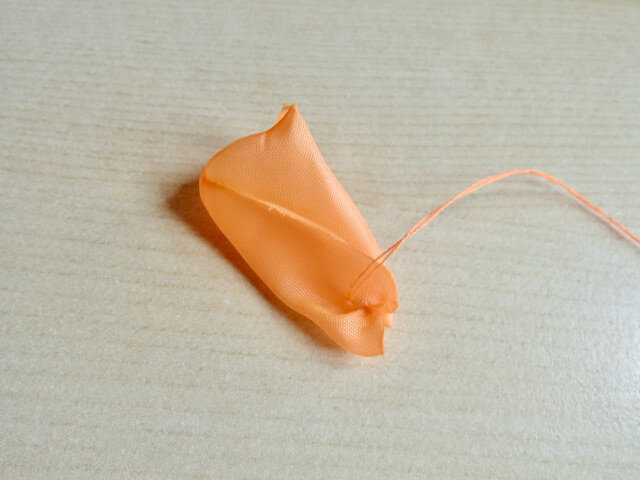
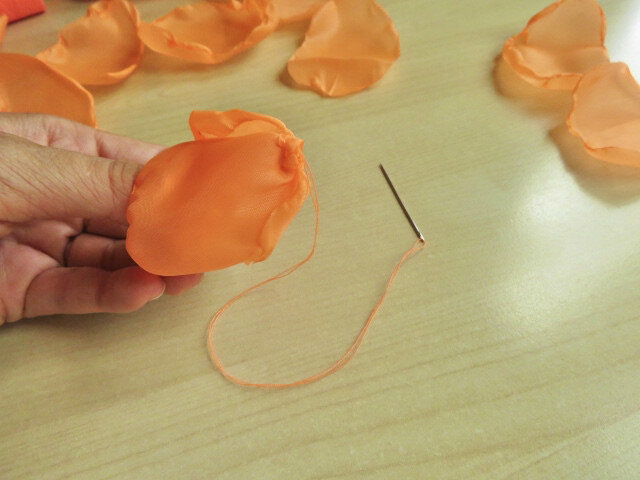
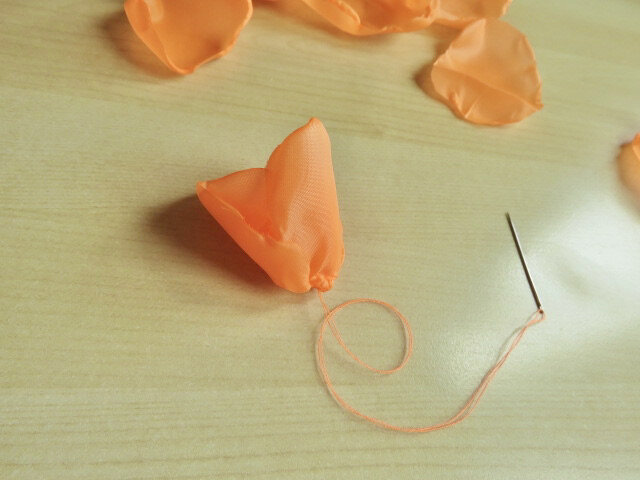
Thread your needle and then start with a smaller petals. With a few stitches secure it at the bottom. Add another petal, curl it a little bit, also make sure it’s a bit overlapping the previous ones and secure it with a couple of further stitches. Keep adding larger petals so it will increase, and the side will raise gradually.
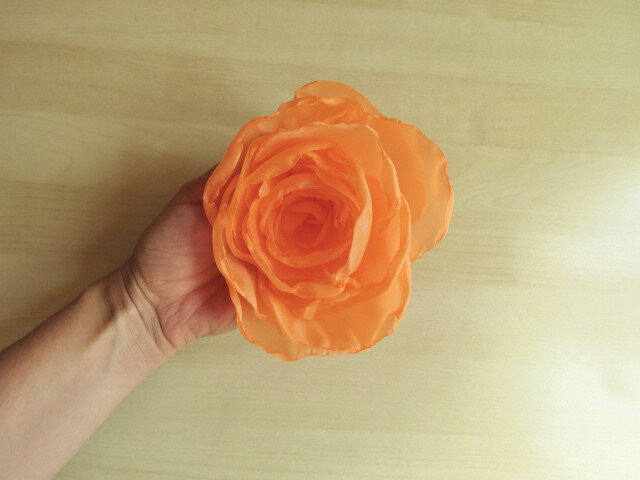
Keep adding and going till you have a whole flower head. You can adjust the petals as you go, make a bit closed up like cabbage roses or a bit opened like peonies.
FOLLOW @SPICEITUPWITHDORI
Hello! I’m Dori
Spice it up with Dori is a blog about bright DIY fashion, crafts & lots of creative endeavours. Things that put a smile on your face.
Quarantine led me to start a website, where I can share my creations, ideas, inspirational digital content on transforming dull into cheerful, fun, refreshing and full of colours.
My aim is to create an upbeat positive vibe so you can as well cultivate your inner-creativity and establish an innovative DIY way of lifestyle and spice things up with your personal touch. Find out more about me.
LATEST POSTS


