BATH BOMBS GIFT SET PILLOW SEWING DIY
Take a Bath
We all know what and how amazing it feels having a fizzy, bubbly, sweet Eden smelling bath after a long loooong cold day. Pretty sure you have a secret trick how to gain back vitality and into bath bomb recipes and fizzies and if you were looking for a special edition bath bomb gift set, you may have just found it!
If there are the multi colored intergalactic bath bombs and the purple lavender moisturiser fizz bombs, then this bright red can be the sweet baby dracula berry love bath bomb mixed with some playful yellow intense bombs combo.
But for sure it bombs away your stress and make you forget all the boring pillows to make space for something much much fun & cheerful!
It is the perfect recipe for sweet treats, so lush! You can have the whole package of this huggable, squeezable bath bombs made out of magicians sponge balls. Get some metallic fabrics and sew a shop like bag in a size of a pillow and fill it up with soft sponge balls from the magic shop. This DIY is one of the best I came up! I love it love it so much and you’ll love it too!
It is a very fun sewing decor DIY for anyone who is looking for an unusual and original twist and want to add an extra member to their pillow gang.
Just to make the package more fun you can cut out slogans from iron on patches and embellish the pillow as you like.
MATERIALS YOU NEED TO MAKE A BATH BOMB SET PACKAGE SHAPED PILLOW SEWING DIY
sponge balls from magic shop (around 25-35 pieces)
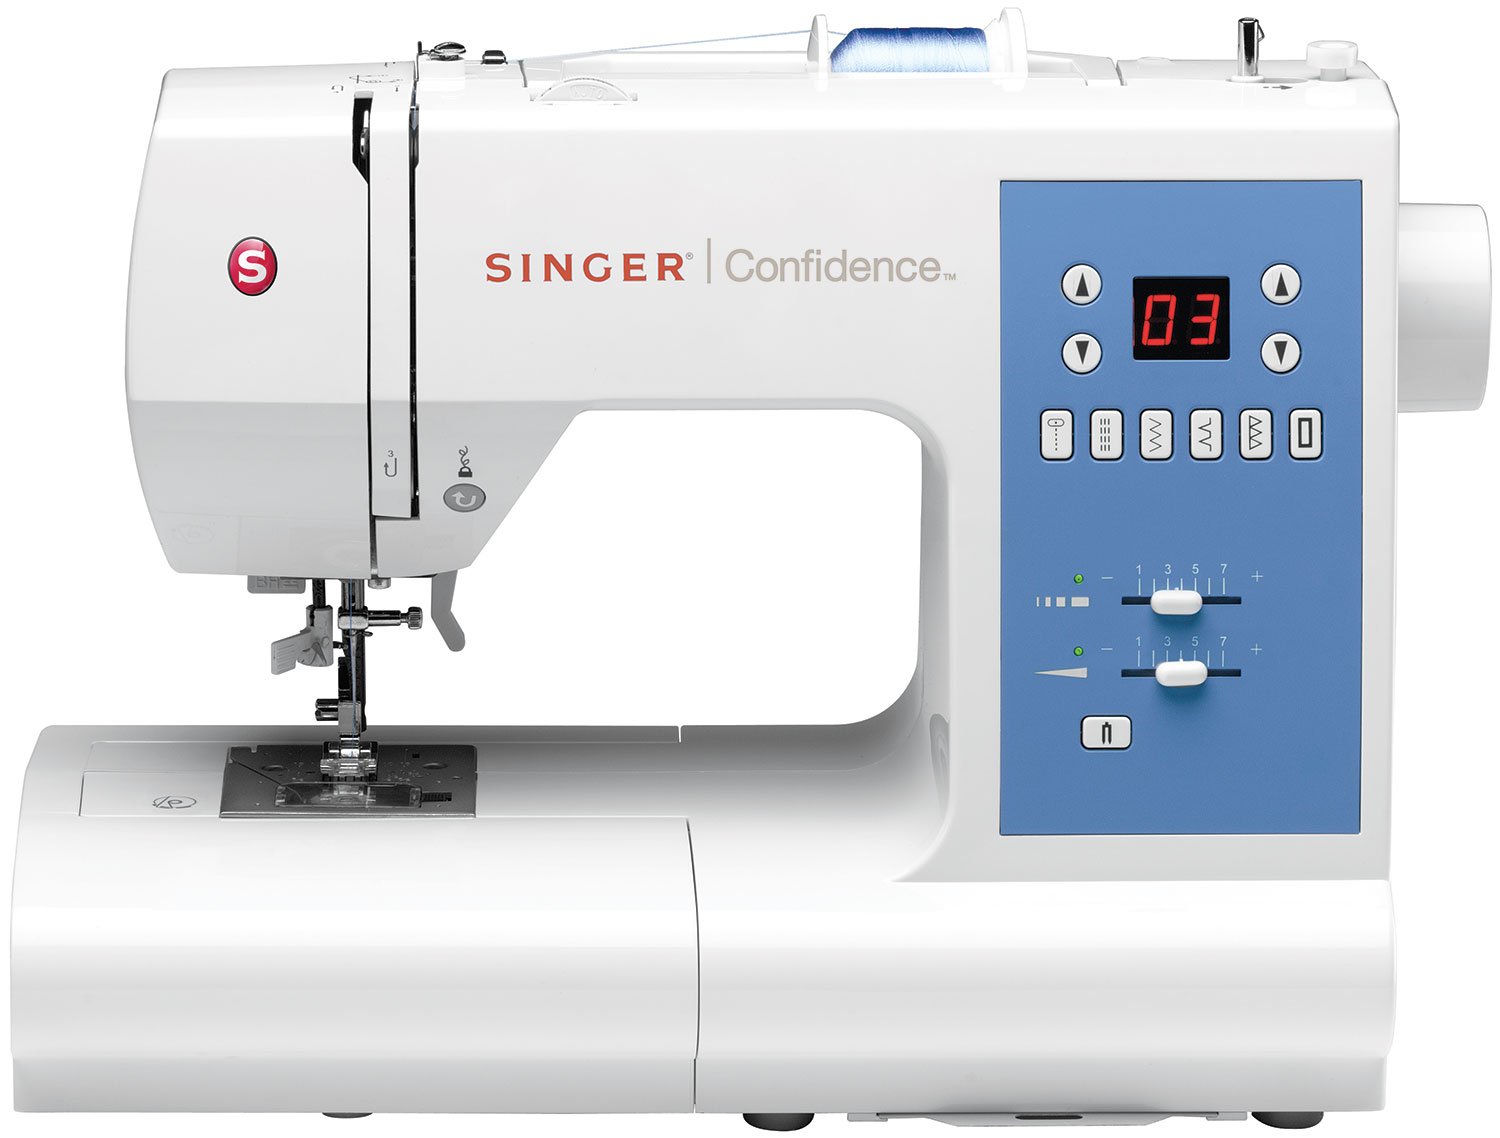
sewing machine
iron on slogan
FRONT: tulle net fabric or something similar see through fabric (see the exact measurements below)
BACK/BOTTOM/LABEL: use metallic lamé fabric (see the exact measurements below)
scissors
HOW TO MAKE A BATH BOMB SET PACKAGE SHAPED PILLOW SEWING DIY
Cut out the front piece from the net fabric * 1 ( or twice if the fabric is too see through). You will need 1 * the label, 2* the back so it can be shiny outside and inside as well, and 1 * bottom from the metallic fabric as listed above.
Iron on your customised label to your “label” fabric and once it is ready pin it to the desired place on to your front and start sewing that piece to the tulle net fabric.
Sew along the bottom of the package the back piece, the good sides are facing each other, then attach the front of the “package” to the other side of the bottom part and sew it along as well.
In order to create the package now you need to sew along the sides of the package, turn them inside out so the good sides of the fabrics are facing each other and create a fold within the bottom fabric piece as you are securing them together, similar just like a coffee package or any food package looks like and sew them together. This will make it a bit more realistic.
Fill them up with the sponge balls and secure it with a single stitch line on the top. Since you have an extra few inches/centimetres from the metallic fabric on the top now you are able to fold it back just like a metallic package from shops and sew it along again to close it off. In order to create a shop like hook I have had a look at a picture and free styled it with my machine. Go along a hook shape with your sewing machine first then once you have the desired shape, cut it out with your small sized sharp scissors.
YOU MAY ALSO LIKE
FOLLOW @SPICEITUPWITHDORI


