XMAS CANDY SWEET DAYS PILLOW SEWING DIY
Looking for a cute DIY Christmas craft? You are in for a treat with these Sweet Holiday Candy Pillows. This tutorial shows you how to make a pillow that looks like a delicious holiday sweet.
By all means would limit yourself and your home to display sweet home decors like candy pillow, we need sweetness, the feeling and the pop of colors. These cuddly homemade pillows are unlike anything you see in shops, it is different from all the typical slogans and captions covered throw-pillows. This is so simple yet so unusual, and effective if you want a kick to your living room, have sweet dreams, but most importantly if you blood sugar level is down it is a perfect aid to energise you again.
They can be a unique and a perfect addition to your DIY Christmas decor. You can also use them as a DIY holiday gift since they are seasonally appropriate, yet can blend into regular home decor styles. It is a well rounded item. Make this and show off to your friends and neighbours with these huggable and comfy, confection-inspired pillows.
Pillow are always great companions in bedroom, living rooms, office corners, study room, make them fun to look at and add room decors make you giggle.

MATERIALS YOU NEED TO MAKE YOUR CANDY PILLOW SEWING DIY
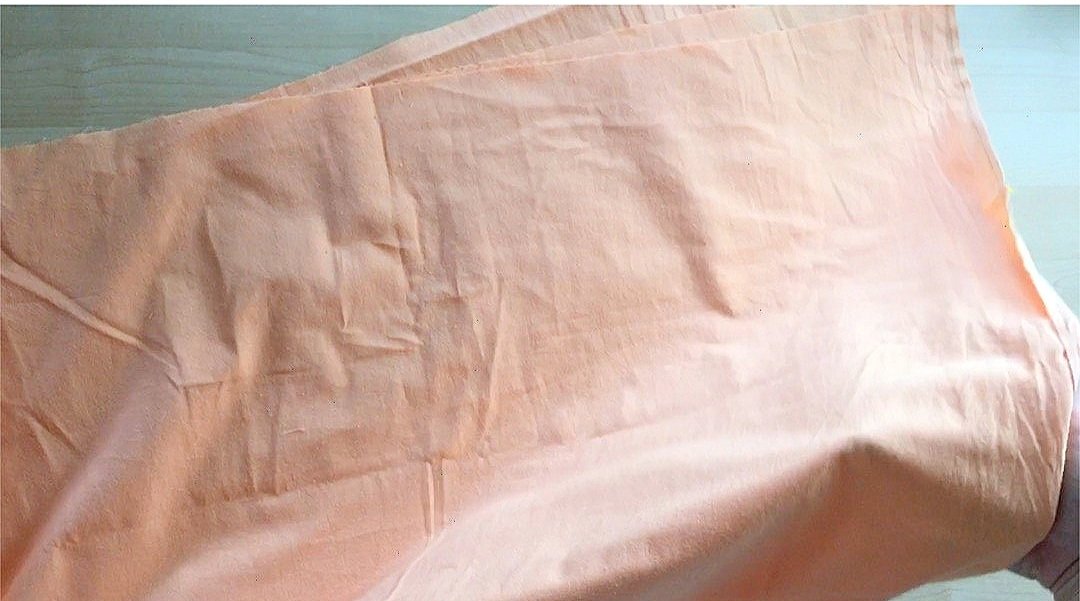
70*80 cm measured fabric for the base
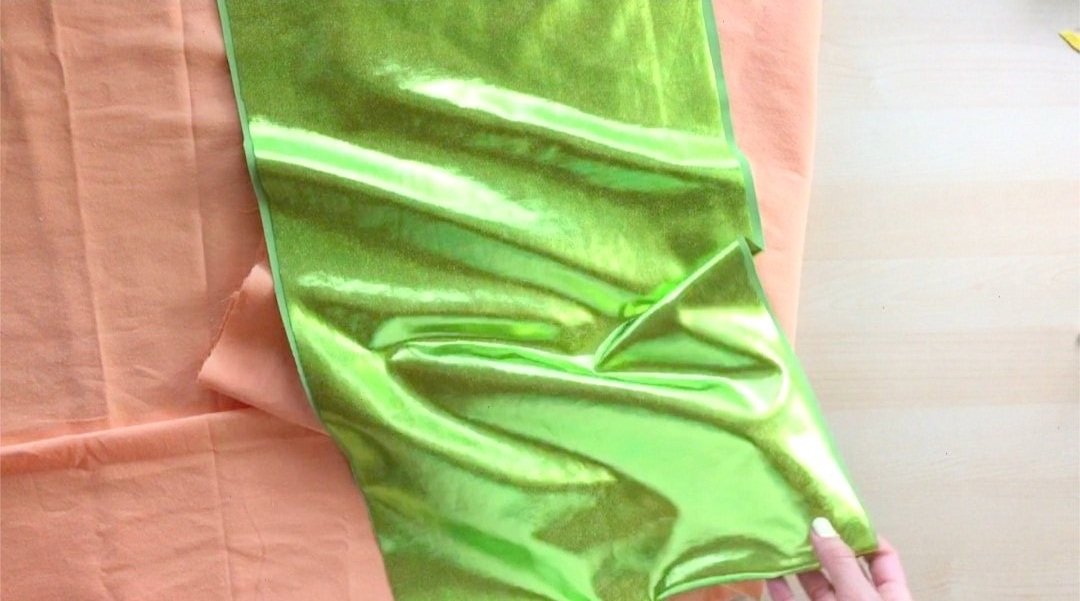
about 25 cm * 80 cm long green metallic lame
scissors
pins
sewing machine
pillow stuffing/ or another pillow that can fit in your pillow cover
2 pieces of elastic hair bands
HOW TO MAKE YOUR CANDY PILLOW SEWING DIY
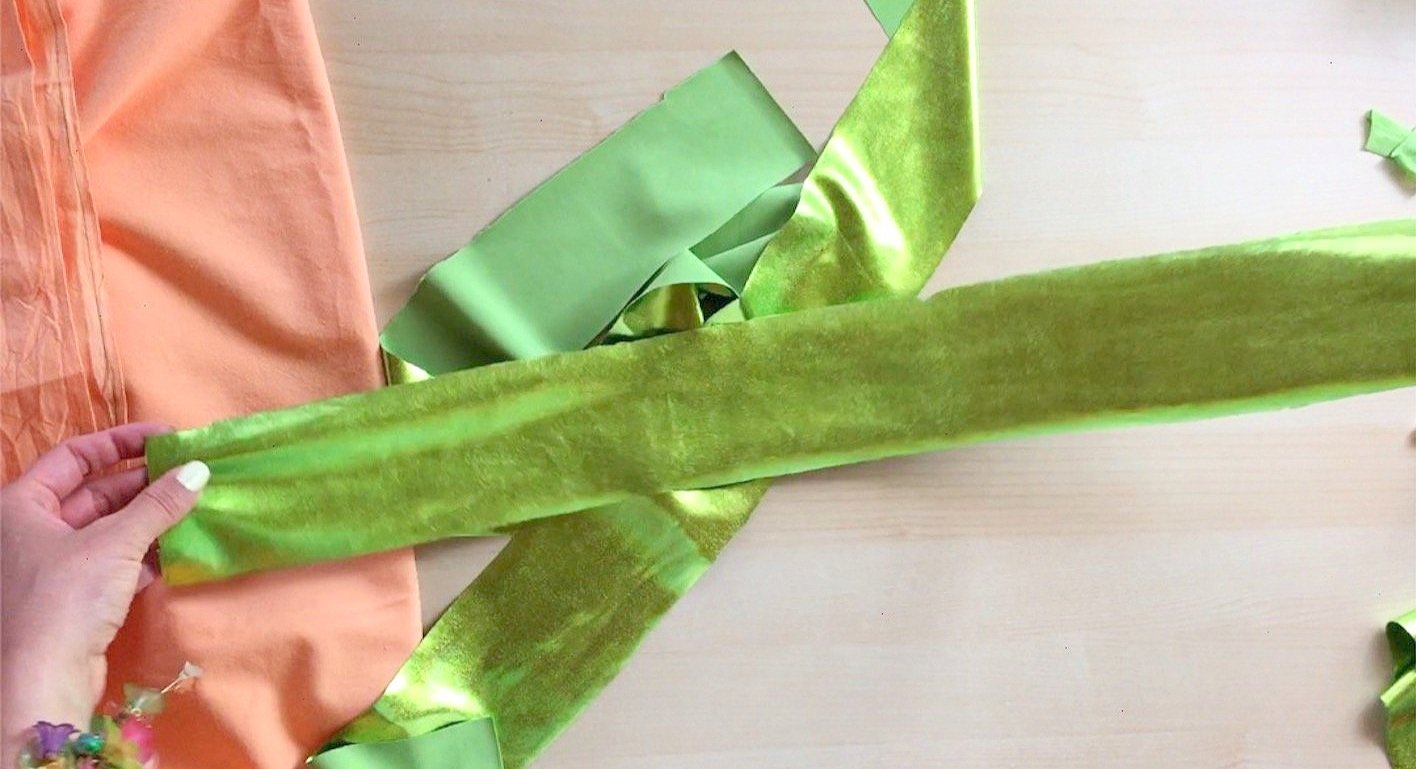
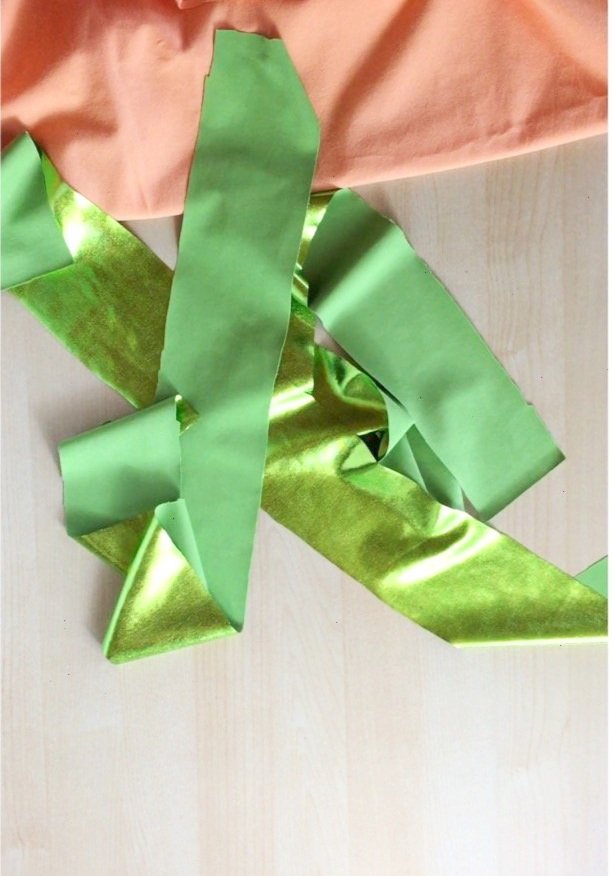
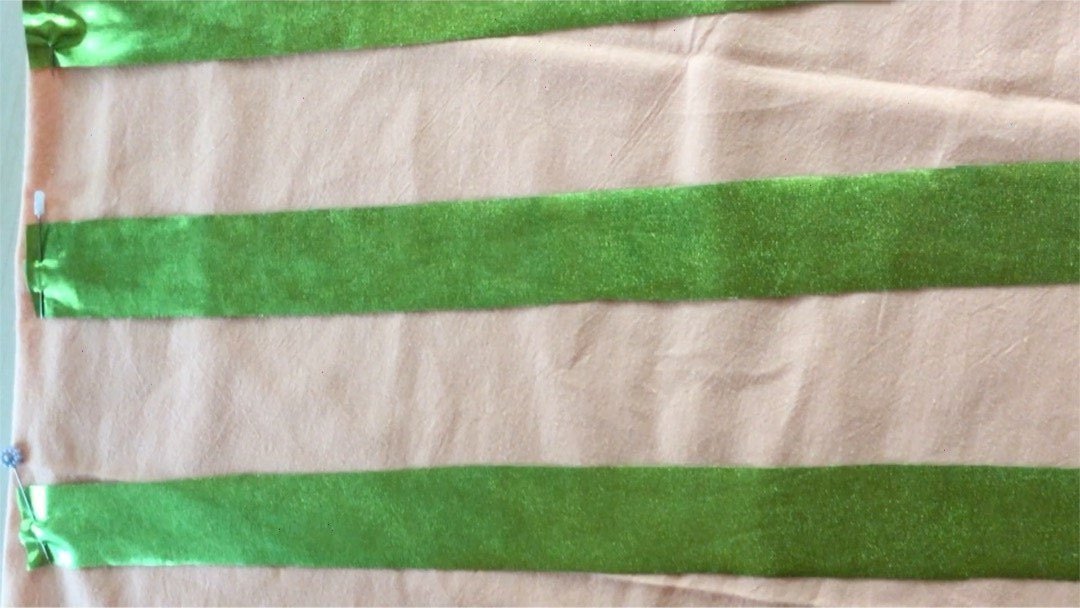
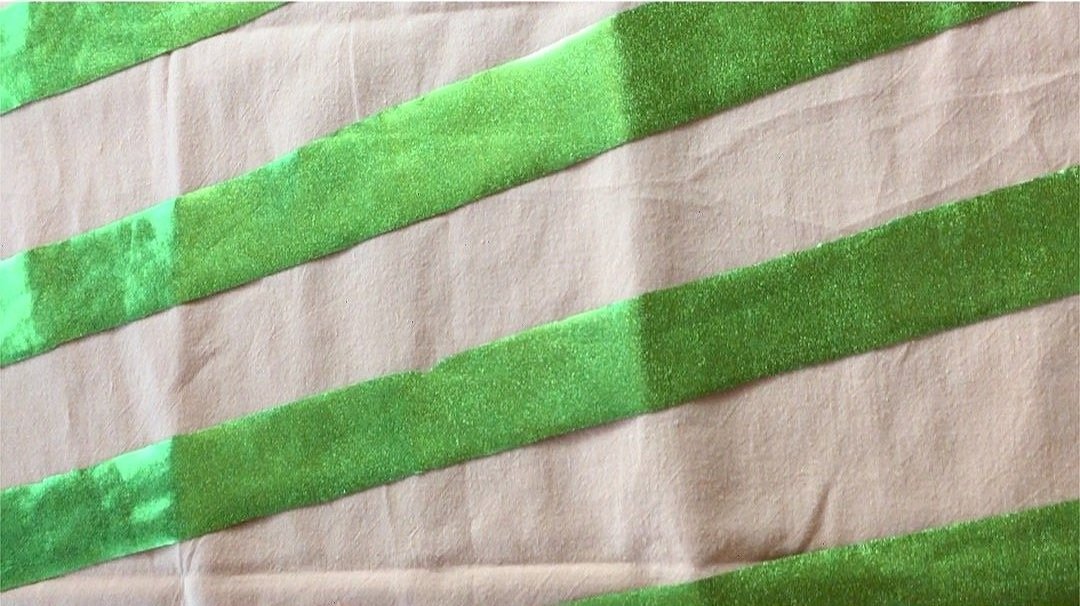
Cut 5 cm wide and 80 cm long stripes from your metallic lame fabric. Lay down your base fabric and start designing the stripes, divide them in a way that most of them would be concentrated in the mid part of the fabric, also tilt the stripes so it would look realistic.
Pin down the metallic stripes before you start sewing the line by the edges with your sewing machine.
Sew your lines on the base.
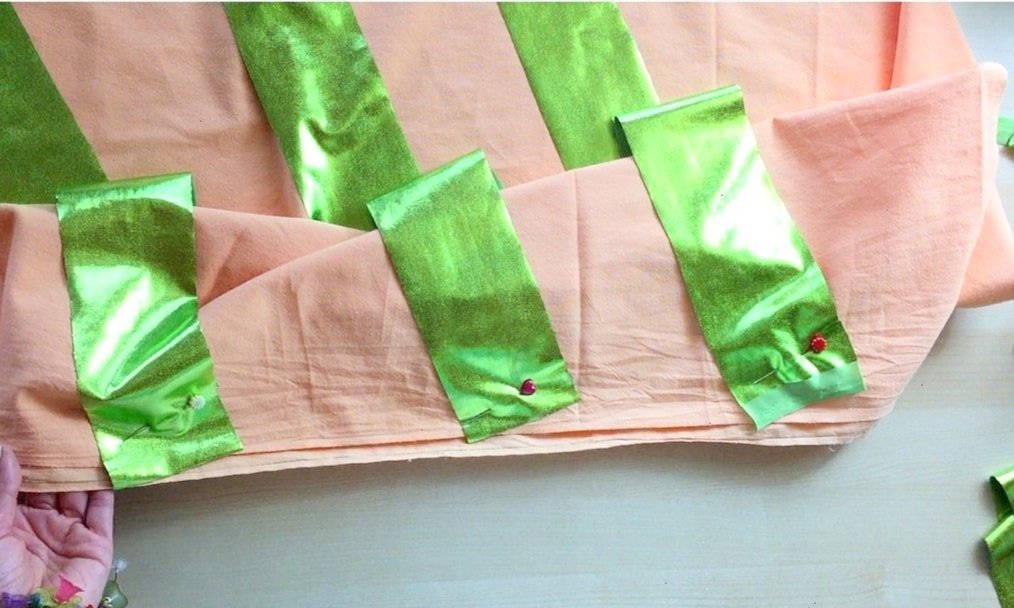
Once you have a you strips sewn on the base, fold your your fabric in a way how you can sew the two sides together by the shorter side of the fabric, so to create the place for the filling that shapes the cushion.
Finish off the edges b folding half an inch twice up and going through the edge with your sewing machine. These are beginner stitches and only requires sewing straight.
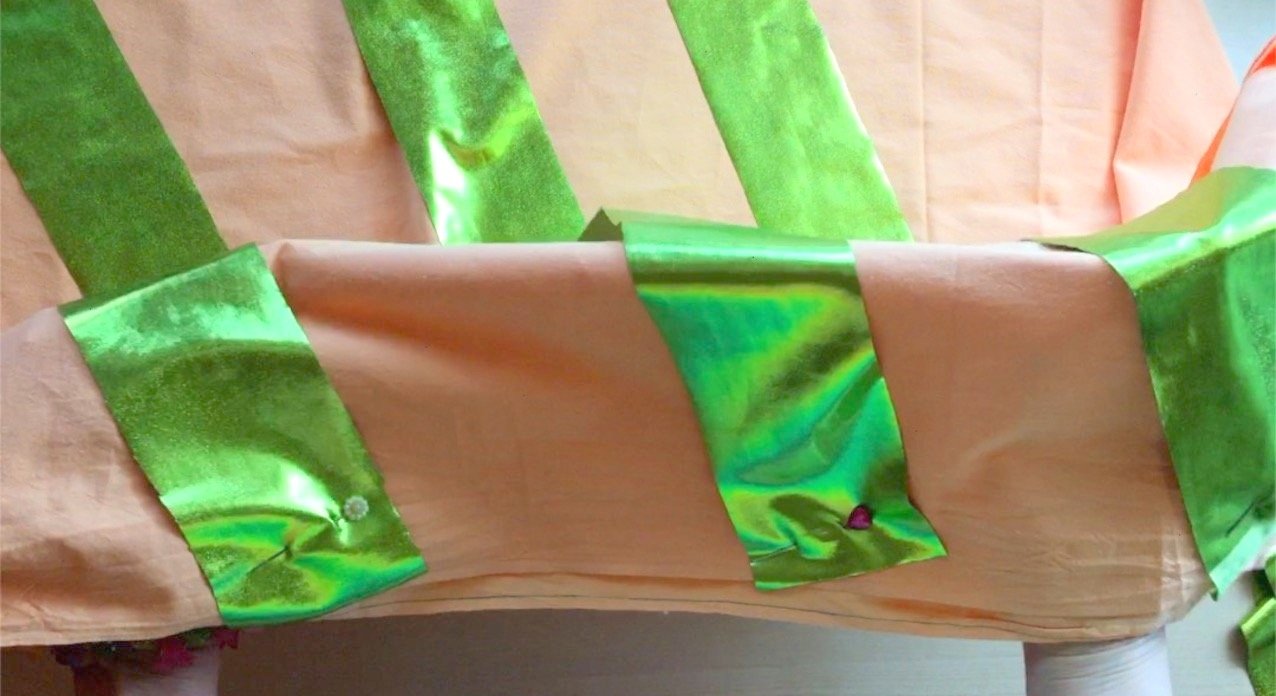
Now you have a cover, add the cushion filling or another plain cushion, and close the sides off with the two elastic bands

FOLLOW @SPICEITUPWITHDORI